
Big Island glamping can mean a furnished tent, a simple cabin, or another outdoor-focused stay with more comfort than a standard campsite. The label alone tells you little about bathrooms, electricity, or weather protection, so read the amenities carefully. Choose a base that supports your route, whether that is the cool Volcano area, the greener Hilo side, or the generally drier Kona coast, rather than booking only for the view.
What Glamping Looks Like on the Big Island
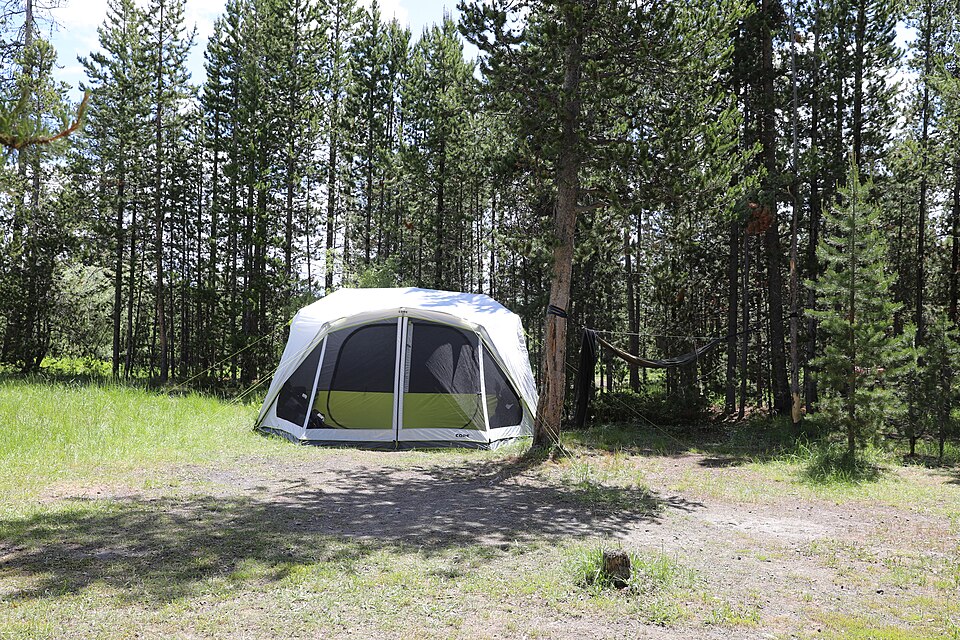
Think of glamping here as a spectrum rather than a standardized lodging category. An outdoor-focused stay might offer a real bed and covered deck but use a shared bathroom; another might be a fully enclosed cabin with a kitchen. Do not assume a furnished tent includes hot water, reliable power, refrigeration, or air conditioning. Verify each feature directly before booking.
Ask about the walk from parking, luggage access, insect screening, bedding, potable water, and the bathroom setup. If the listing is on agricultural land, confirm guest access and the property’s rules. Photos can hide practical details such as steep paths or limited shelter. For families, check sleeping arrangements, age restrictions, and how secure the structure is against wind and rain.
Choose Between Volcano, Hilo, Kona, and Waimea
Volcano is a useful search area if Hawaiʻi Volcanoes National Park is your priority. Its higher elevation brings cooler nights and a wetter feel than the sunny-coast image many visitors expect. Hilo and nearby windward areas suit travelers focused on waterfalls and lush scenery, though you should be comfortable with showers and damp gear.
The Kailua-Kona area puts you closer to west-coast outings, while upland locations can feel cooler than the shoreline. Waimea is another gateway to consider for northern exploration, with conditions that vary by elevation and exposure. These are search areas, not promises of available glamping inventory. Compare actual drive routes, road surfaces, and proximity to groceries before deciding where to stay.
Choose a Season and Book Around Your Route
April through June and September through November are useful starting windows, but the property’s elevation and side of the island matter more than a simple seasonal label. A Volcano-area tent can feel chilly and damp while the Kona shoreline feels warm. Winter generally brings more rain, and holiday periods can increase competition for distinctive stays.
Reserve lodging early if your dates are fixed, especially when you need a private bathroom or family-sized setup. Ask how the property handles heavy rain, wind, access disruptions, and cancellations. For any nights inside a park, check the official park or NPS website for current conditions, authorized accommodations, campground rules, and reservation requirements. A private lodging booking does not include park camping permission.
Pack for Damp Mornings and Cool Evenings
Bring a lightweight rain shell, quick-drying clothing, closed-toe walking shoes, and a warm layer for upland evenings. A headlamp is useful for paths between your sleeping area and shared facilities. Add a refillable water bottle, sun protection, insect repellent used according to its label, and a small dry bag for electronics. Keep one set of sleepwear protected from damp outdoor gear.
Check what is supplied before packing towels, bedding, cookware, or a cooler. Confirm whether outlets can charge your devices and whether the kitchen has refrigeration. Do not bring a stove without checking property rules, and never use fuel-burning equipment inside a tent or enclosed sleeping space. Store food as directed and avoid leaving scraps that attract animals.
Glamping vs. Camping vs. an RV
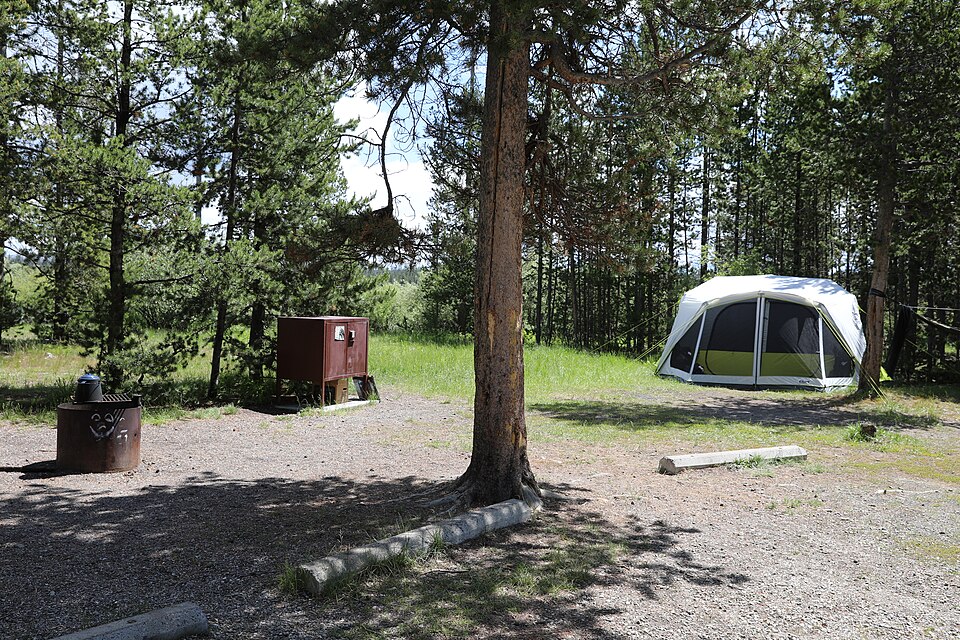
Glamping usually trades some of camping’s simplicity for a prepared bed, shelter, and fewer items to pack. Costs can overlap with conventional lodging, particularly when private bathrooms or kitchens are included. Basic camping often has a lower lodging cost, but gear, transport, and reservation logistics add to the total. Treat these as rough comparisons, not fixed price rankings.
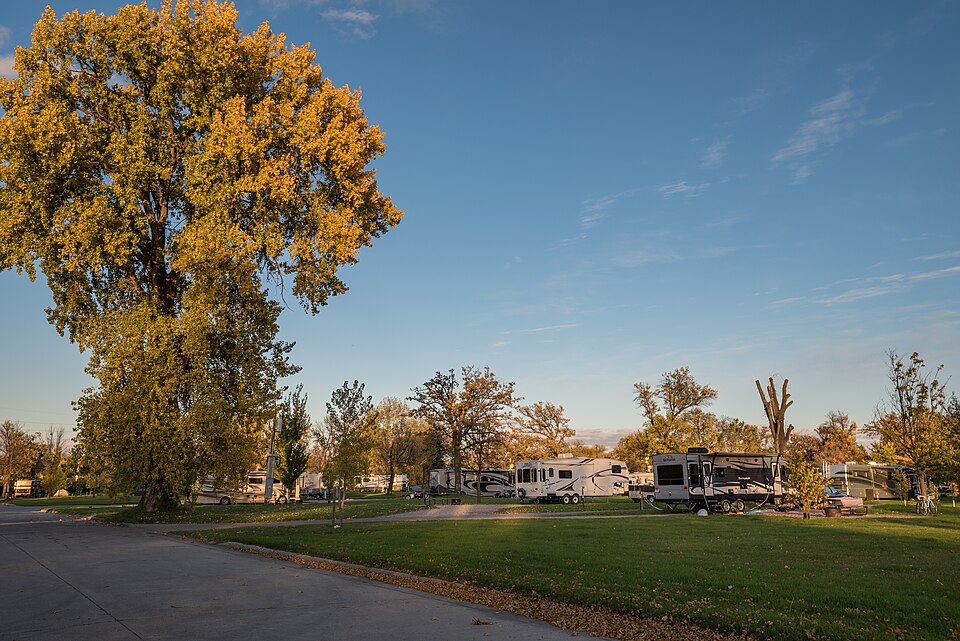
An RV or campervan changes the calculation again: rental costs, fuel, parking restrictions, and access to toilets or wastewater disposal all matter. Do not assume you can sleep at any beach or pullout. Confirm that each overnight site permits your vehicle and has the facilities you need. Check official state, county, or NPS sites for camping rules, current conditions, and reservations before committing.